Easypanel
Prepare Easypanel and Server Requirements
Ensure that Easypanel is installed on your server. You can install it by following the Easypanel installation guide.
Verify that your server meets the requirements for Lowcoder, including sufficient CPU, memory, and storage.
Access the Docker Compose Configuration
Obtain the Docker Compose file for Lowcoder. This file defines the necessary services and dependencies. We suggest the "Multi-Image" installation.
Set Up a New Project in Easypanel
Log in to Easypanel and navigate to the dashboard.

Click on Create New Project and provide a name for the project, such as "Lowcoder."
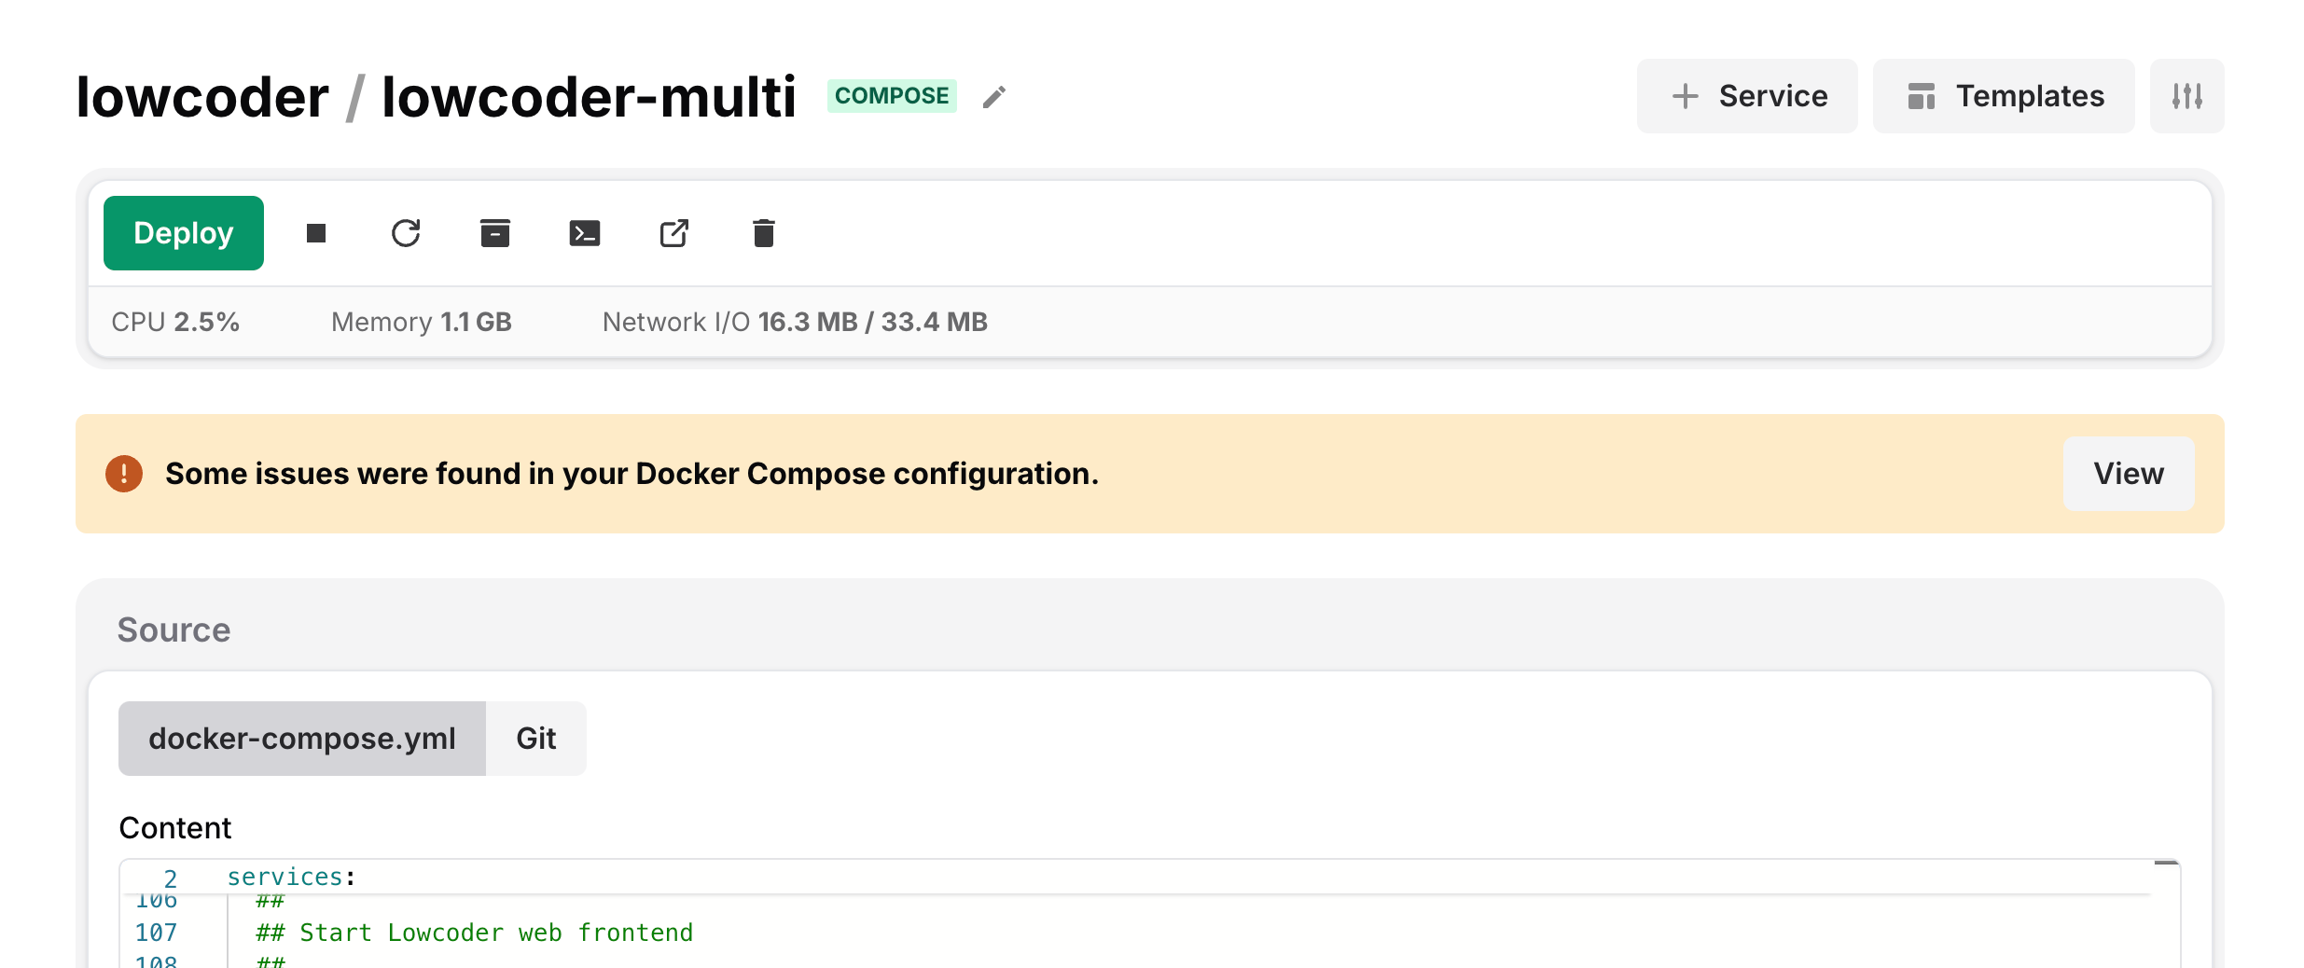
In the project settings, select Docker "Compose" as the deployment type.
Upload or Paste the Docker Compose File
In the Docker Compose section, either upload the file or paste the contents of the Docker Compose configuration for Lowcoder after your adaptations.

We suggest changing the values at least for:
LOWCODER_DB_ENCRYPTION_PASSWORD
LOWCODER_DB_ENCRYPTION_SALT
LOWCODER_API_KEY_SECRET
LOWCODER_ADMIN_SMTP - all settings for the SMTP - eMail, so Lowcoder can send for example password-reset eMails.
Ensure that all environment variables required by Lowcoder (like database credentials, API keys, etc.) are correctly specified in the file.
Adapt the Port Setting of the Frontend-Container
For the Frontend Container image, leave only the service-port. Easypanel contains the Traefik Loadbalancer, which later binds the Domain to this Container Image.
We suggest to use named Versions for the docker image. :latest works well, but can automatically use updates without your interaction. However some of the changes of Lowcoder may need your attention. We suggest to use Named Versions like 2.4.x or 2.5.x, so you can control when the installation actually update.
Start the Installation
In Easypanel, click on Deploy to start the Lowcoder installation.

Easypanel will pull the necessary Docker images, set up containers, and configure the services as per the Docker Compose file. The process should not take much more than a Minute. However, the startup and initialization of the api-service may take up to 3 minutes.
Verify the Installation
Check that all services are running by reviewing the container statuses in Easypanel > Deployments

Bind Lowcoder to a Domain
In the "Domains" section of your Easypanel, you can edit the Binding from Domain / URL to the Frontend Container of Lowcoder.

In the Dialogue you select the Frontend Image and the Port that you did set up in the Compose YAML. This binds Lowcoder to Port 80 HTTP - and 443 HTTPS.

Start Using Lowcoder
With Lowcoder successfully installed, you can start creating and deploying applications directly from the Lowcoder interface.
Easypanel will handle ongoing service management, allowing you to monitor, update, and scale Lowcoder as needed.
Last updated
Was this helpful?